Today’s post is from one of the most creative brides I’ve ever encountered on W@W. She’s been sharing a lot of amazing DIYs to the group so I bugged her to do a guest post on moonsnjunes. Hallelujah, the incredibly talented Twisted Len has obliged.
Len (who is engaged to Orj — check their wedsite here) will show us how to make Western Union telegrams as Save-the-Date cards. She stumbled on the idea while browsing this site and it was just. absolutely. perfect for their 1920s themed wedding. Len says:
The blogger Jen used Western Union telegrams for her wedding program but I thought it would be more appropriate to use them as Save-the-Dates since telegram messages are meant to be short. I also found out that the Jazz period, which we chose as our theme (1920s-1930s) was the height of the telegram age. WU telegrams were widely used at that time to send invitations to social functions.
(So, is she or isn’t she a detail-obsessed bride? LOL.)
Len bought all the materials from National Bookstore and spent a measly P200 to make 60 STDs. Happiness for the budget (and for Orj)!
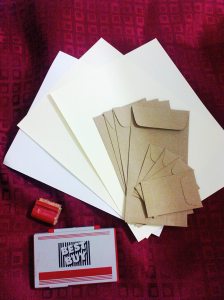
WHAT YOU’LL NEED
- Light yellow or any cream tone paper
- Brown coin envelope size #8
- Rubber stamps to add authenticity
- Stamp pad
- Paper cutter
WHAT TO DO:
1) Download the WU telegram template here, as shown below.
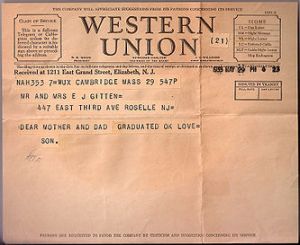
2) Pick an old typewriter font from this site. It has a huge selection of old typewriter fonts but Bohemian Typewriter was used for this telegram.
3) Delete default entries and replace it with your message. (Note: Telegrams were sometimes handwritten by the clerk so you can also use long hand for the message)
4) Trim the telegram to correct size (real WU telegrams are 8″ wide and 6.5″ high).
5) Fold the telegram as shown:
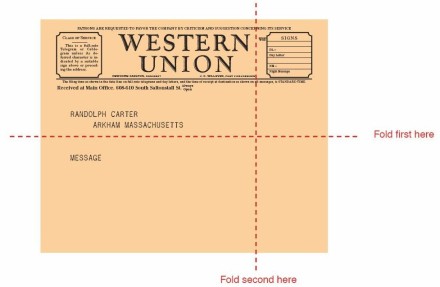
When properly folded, it should fit any standard 6.75″ envelope. If you’re using a window envelope, the name and address of the recipient shouod be visible through the window.
TIPS ON WRITING THE TELEGRAM:
- The first line is for the date and some WU in-house codes to indicate where the telegram came from and the number of words. (We went with our anniversary date and initials for the date and codes)
- The second line is for the sender’s address while the third line is for the name of the recipient together with their address.
- Your message goes on the fourth line. Since telegrams were priced by the words, limit the words you’ll use and be concise.
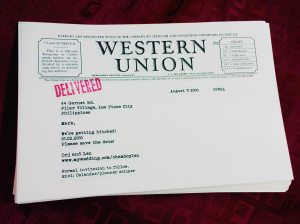
This is what the final product should look like:
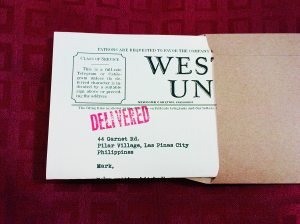
OPTIONAL TOUCHES:
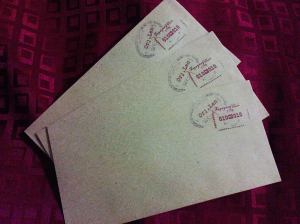
- Vintage stamps. Len used Scrapblog (it’s free but you’ll need to register) to make a stamp and printed them on the brown envelopes that contained their telegrams.
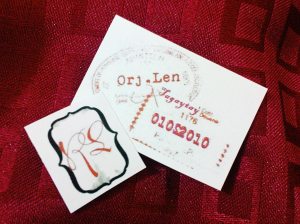
- Stickers. You can use this to seal your telegrams or you can include them in your mail so the guests can stick ’em to their calendars or planners as a reminder of your wedding date. Your stickers can be your monogram, as what Len did, or a couple picture.
That’s it! Pretty simple. I want to send Len a trillion thanks for sharing this, and Len wants to give her Bakushi a zillion thanks for lovingly tolerating the mess that her place has become because of all her DIYs. And we promise to pick up another DIY from that mess soon to post here. Til then. Ciao!